

6 different ways to attach an End Fold Label!
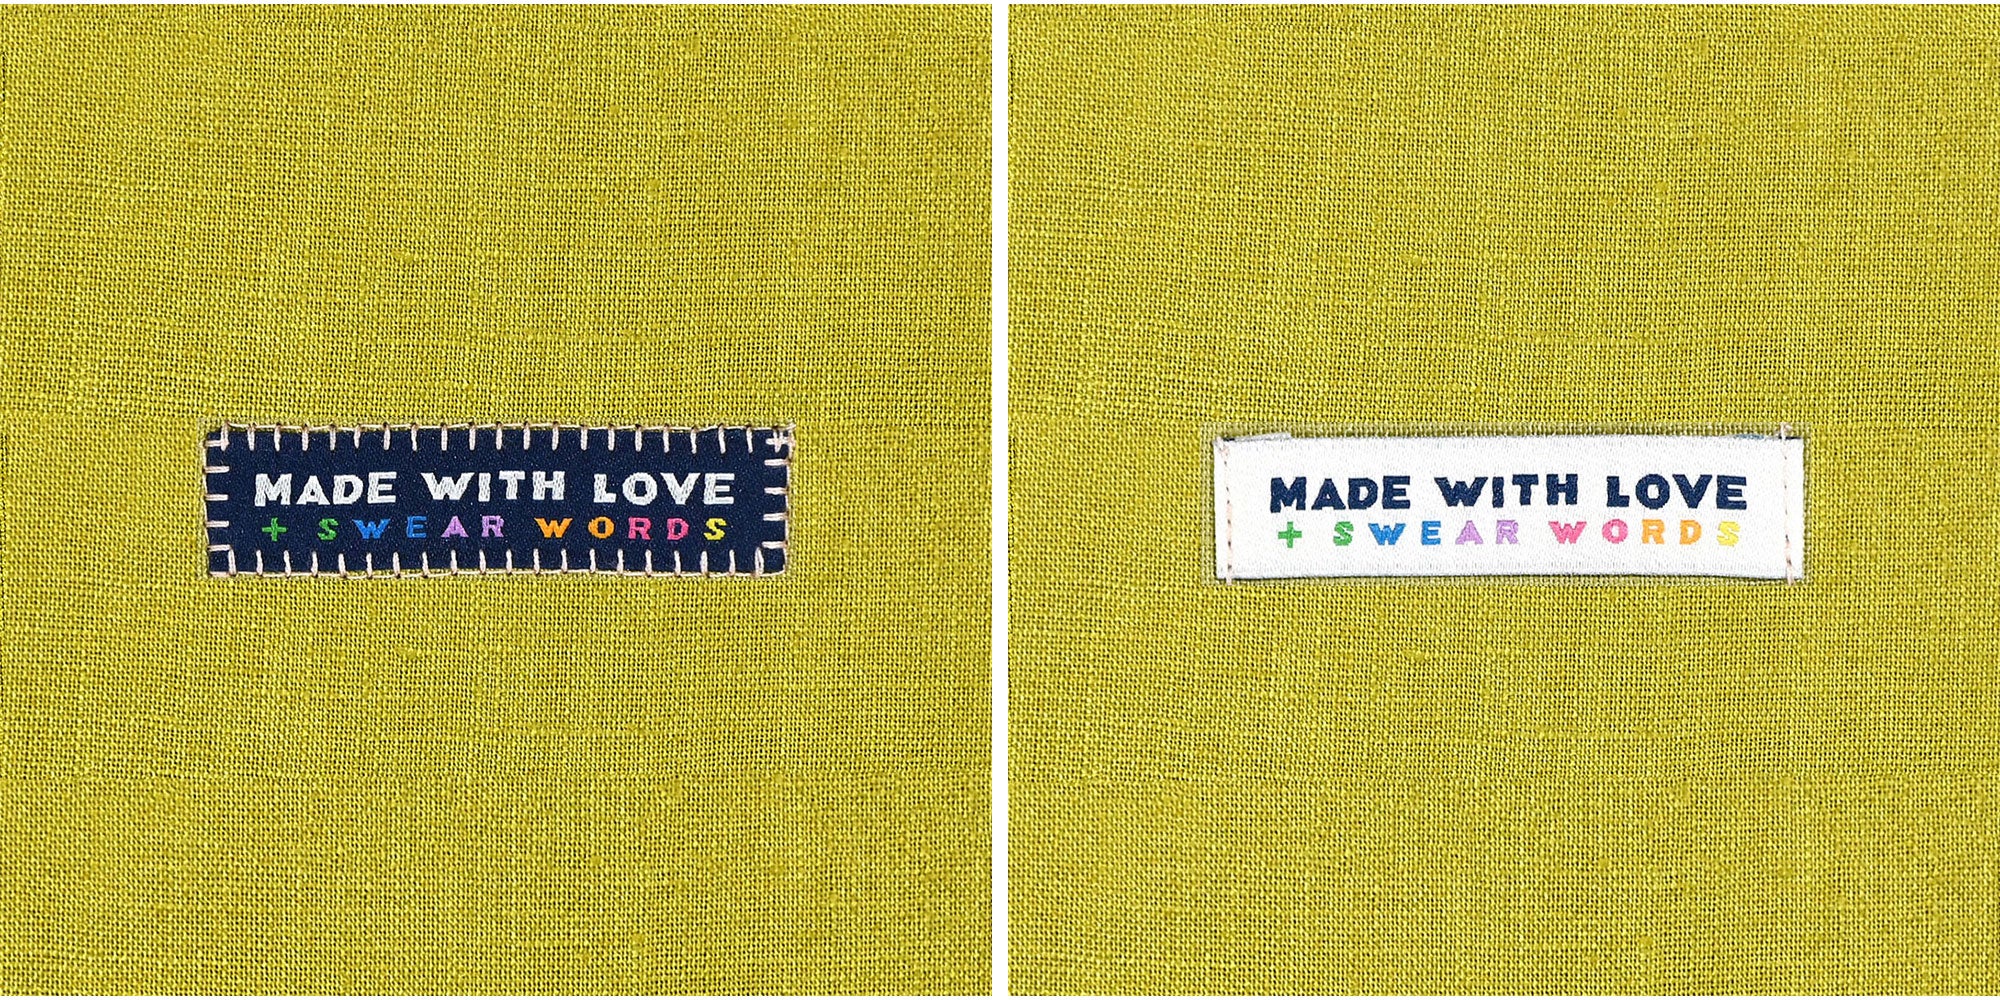
If there's anything we love more than adding cute label candy to me-mades, it's coming up with new and exciting ways to sew them in! We've put together six different methods to attach your end-fold labels, featuring Made With Love + Swear Words from our latest label drop.
Kylie's tips...
Keep 1-2 extra sharp needles aside just for sewing labels
Glue sticks are your best friend when it comes to sewing end-fold labels!
Always test first on scrap fabric first
Decorative Stitch
Most sewing machines come with a variety of decorative stitch options that make for fun embellishments, like this blanket stitch! We suggest testing out your chosen stitch on a scrap piece of fabric first, as many stitch designs have a start and end point that meanders away from / around where the needle first goes in.
Why you'll love it:
The only limit is your imagination (and the decorative stitches on your machine)!
Straight Stitch
A simple but a goodie! The quickest way to attach your labels to your hand-makes and the most common in RTW garments.
Why you'll love it:
For the most professional finish.

Zig-Zag
Perfect for those with sensory issues, a zig-zag encases the ends of the label in thread for the softest finish. You could also encase all the edges of the label in this way!
Why you'll love it:
It's ultra secure and even easier than straight stitch.
Sew A Shape
Think of this as a frame for your labels. As long as both ends are stitched down, you're good to go. We suggest using a chalk pen to mark the shape in outline first before sewing...
Why you'll love it:
You can get totally creative here; think hearts! Triangles! Hexagons!

End Tacks
To create a 'tack', select zig-zag stitch with a length of '0' or close to. Stitch over the chosen point 3-4 times to create a nice chunky tack. Pull all the threads to the back and tie off. You could use two tacks, instead of four!
Why you'll love it:
It's the perfect way to attach a label if you've forgotten to attach a label during the sewing process.
Invisible Stitch
Start by finding the position for the label. Holding down one tab, flip the label to the other side and stitch in the crease of the tab your are holding; try to keep your stitches just on the label tab for an 'invisible' look. Place the label back down flat, pin the other tab in place, manoeuvring underneath the label. Stitch in the crease of the second tab, moving the label and fabric to allow your machine foot access.
Why you'll love it:
It's minimal, discreet and a little bit fancy!